

All the images here are thumbnails, so click on each image to see a bigger version.
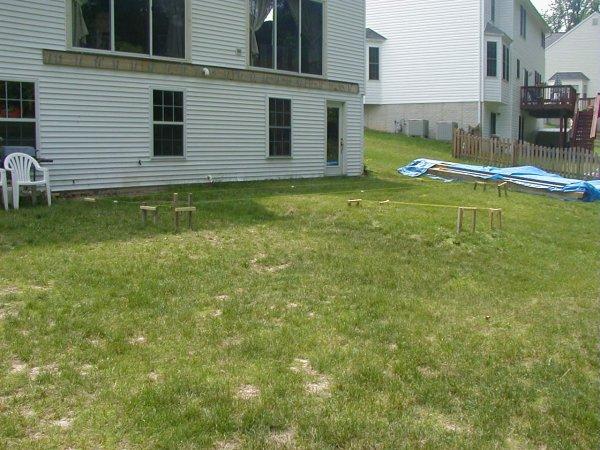
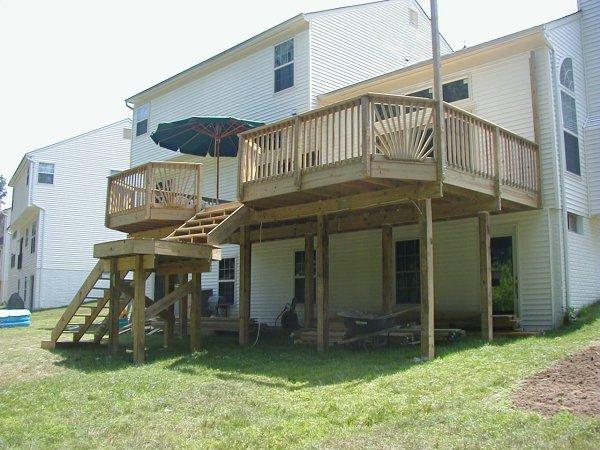
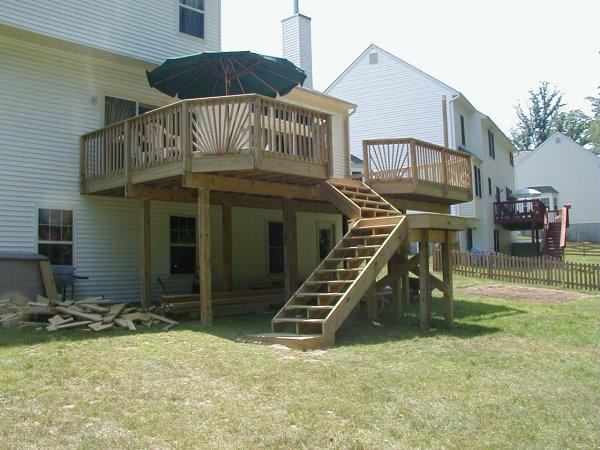
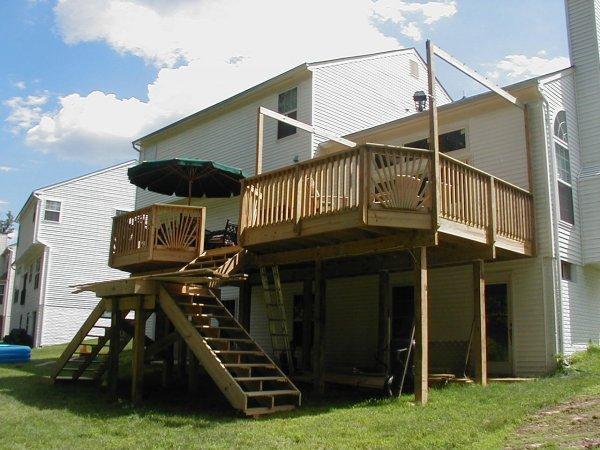
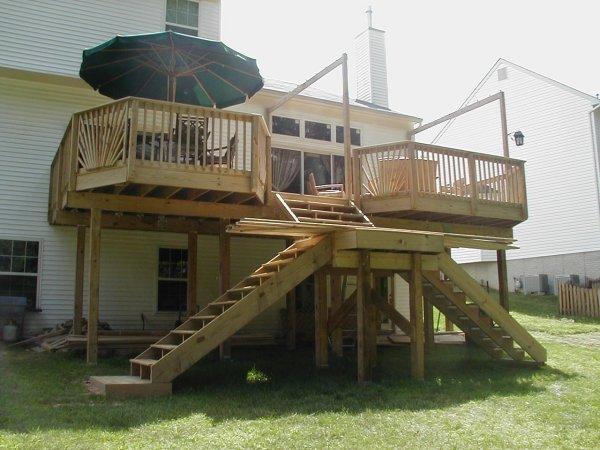
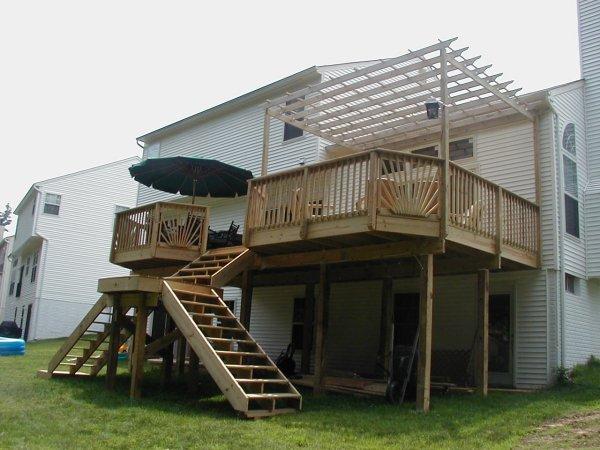
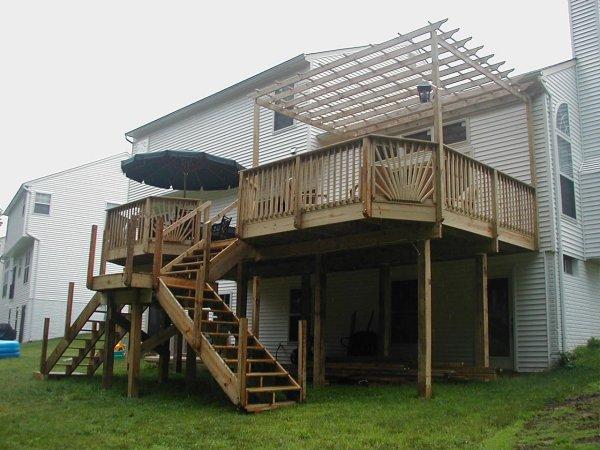
Here are some images from the backyard, from the left and right of the
deck.
|
|
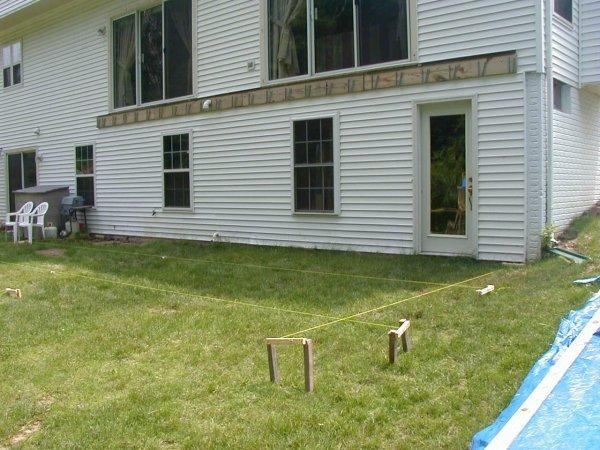
The first step was installing the ledger board on the side of the house. It is attached every 16 inches with lag bolts through the main skirt board on the house. Using the ledger board as the base location for the rest of the deck, we dropped lines to the ground and put in batterboards with lines stretched between them. |
|
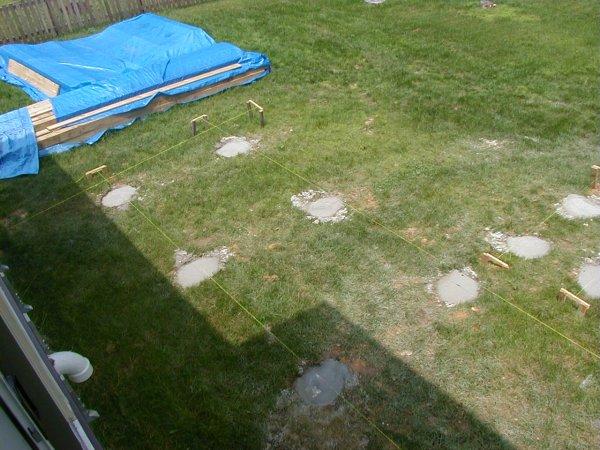
These lines defined the locations of the deck posts and the footers for those posts. The next step was digging out the footers and filling them with concrete. This was the only time other than final inspection when we had to get an inspection. A county inspector came to make sure our footers were deep enough and wide enough. We rented a concrete hopper trailer and bought pre-mixed concrete from a local rental store. It took a little over 2 cubic yards of concrete to fill all 14 holes. That took two loads at 4000 pounds each from the rental store, plus a few extra bags of Ready-Mix concrete to finish up the last hole. We allowed the concrete to cure for two days before proceeding. | |
|
|
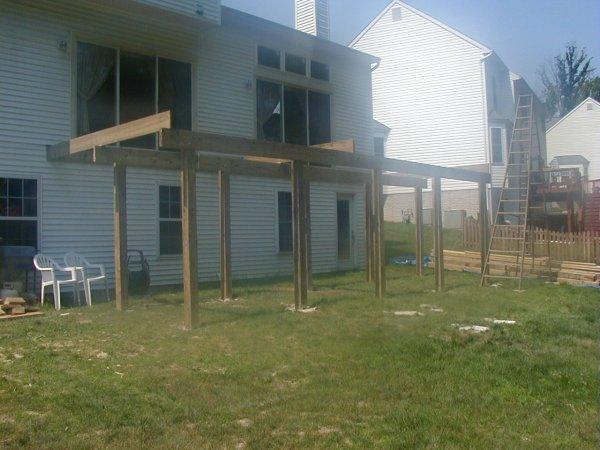
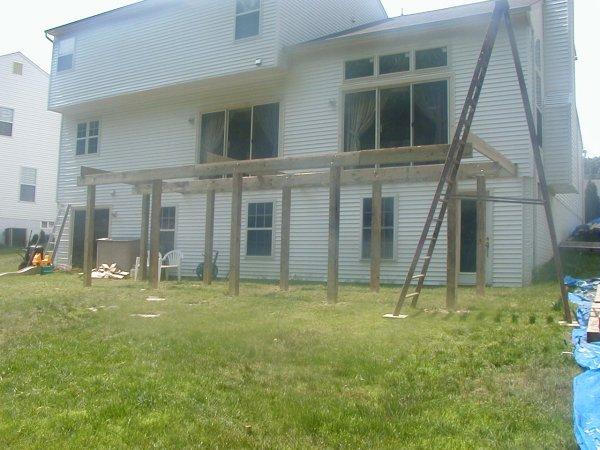
We then started installing the main support posts. There are ten of these 6x6 posts for the main deck and four more for the landing. Because our backyard is nowhere near level and the footers were poured to ground level, each post had to be plumbed vertically and cut and notched specifically for its own position. Each post was notched out on top to accept the main 4x10 beams (made by laminating 2x10 lumber). |
|
|
On top of these main support beams we added the 2x10 joists. There are 26 joists, most of which are 15 feet long. |
|
|
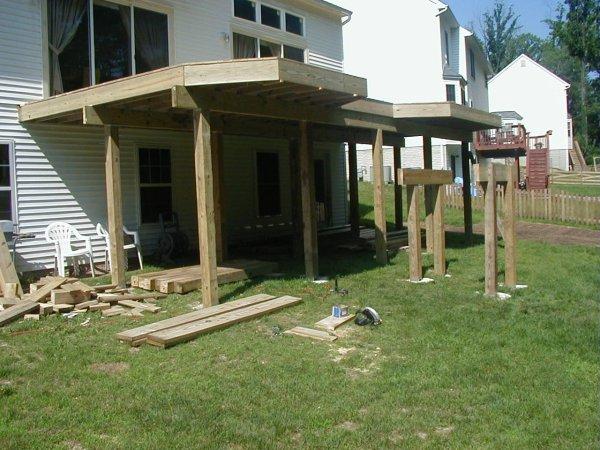
With the joists in place, we were able to install the rim joists and decking. Please see the images below to show how the deck looked like during construction from deck level. We then started building the landing, the railing on the main deck, and the stairs. Detailed images of the landing and stairs construction are below also. |
|
|
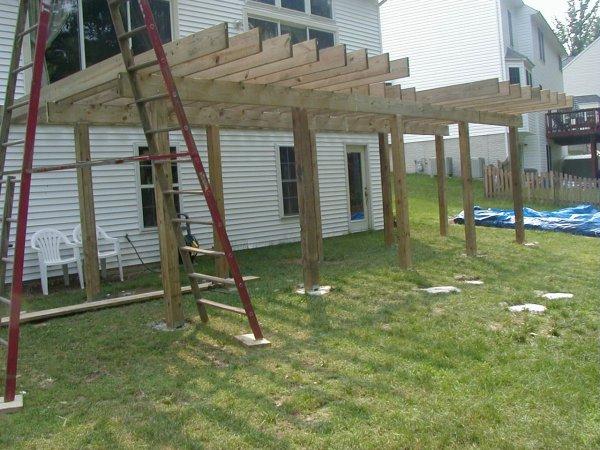
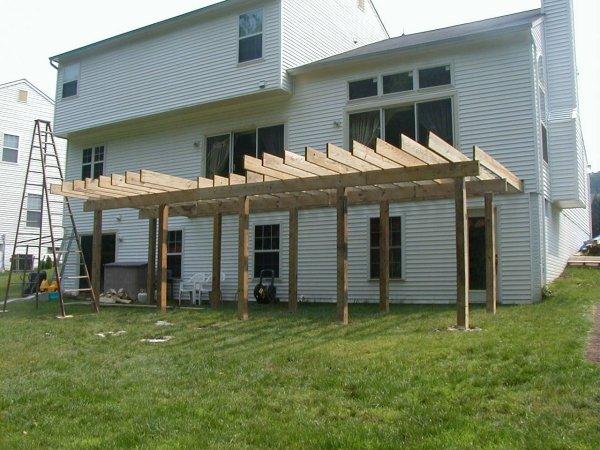
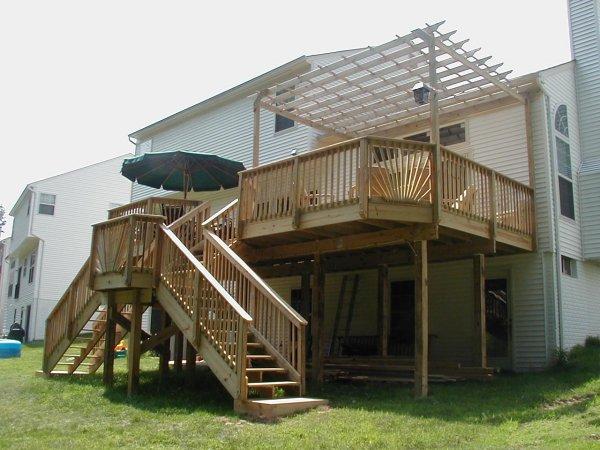
This is how the deck looked on the 3rd of July. We had a big cookout on the 4th with family and friends, and took the next week off from building. We then started building an arbor on one end of the deck. |
|
|
The arbor had to be built high enough to go over the top windows at one end of our house. The arbor is 9 feet above the deck. |
|
|
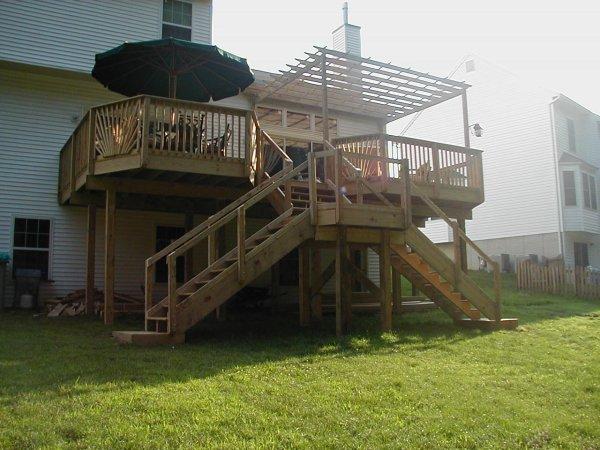
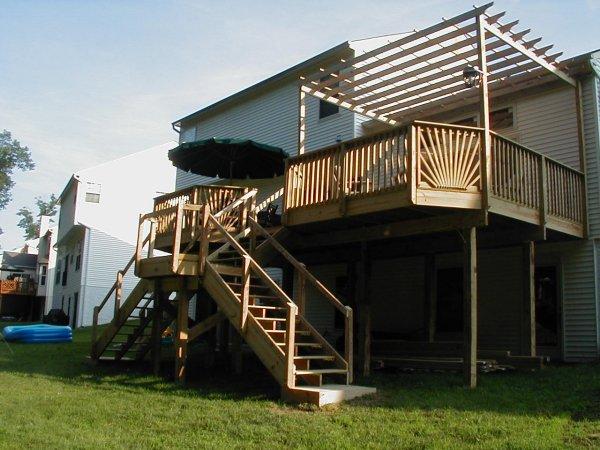
With the arbor complete, we started adding posts for the stair railings. |
|
|
Here you can see posts and railings in place. |
|
|
The last step was adding the pickets on the stairs and the kick plates to make closed risers. |