All the images here are thumbnails, so click on each image to see a bigger version.
Here are detailed pictures of the landing and the stairs as they were
built.
|
|
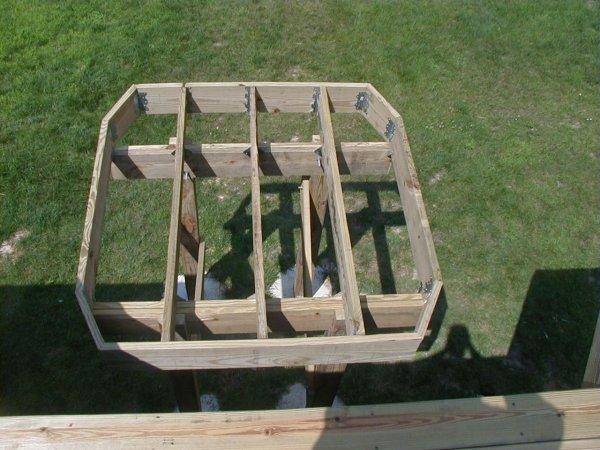
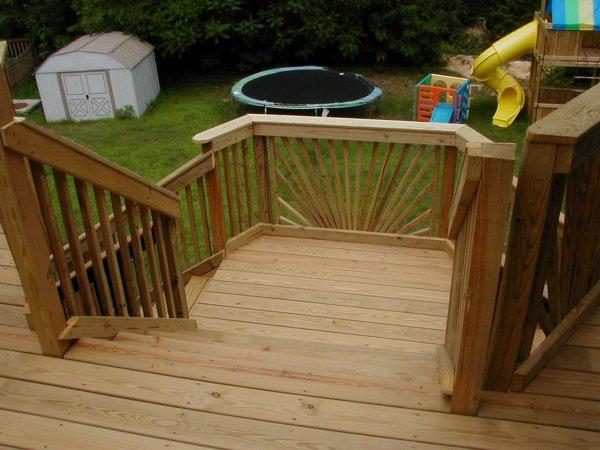
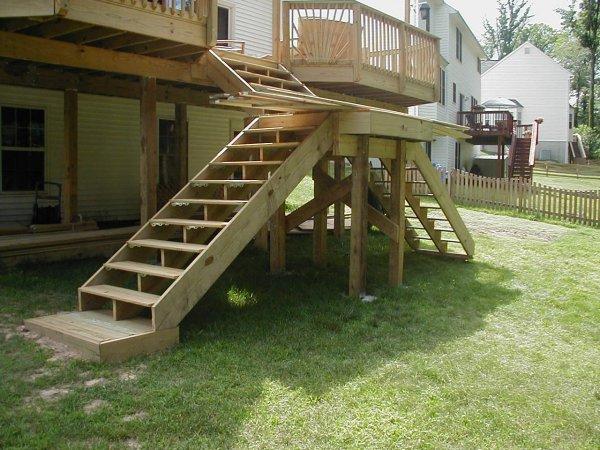
With all the railing in place on the main deck, we began construction on the landing. It sits on 6x6 posts, 2x10 beams, and is about 8 feet square. |
|
|
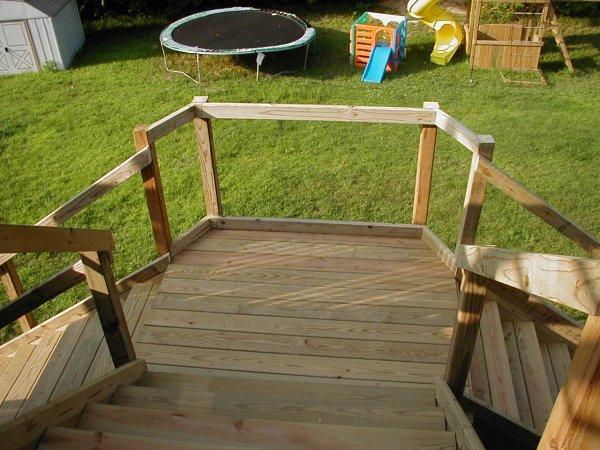
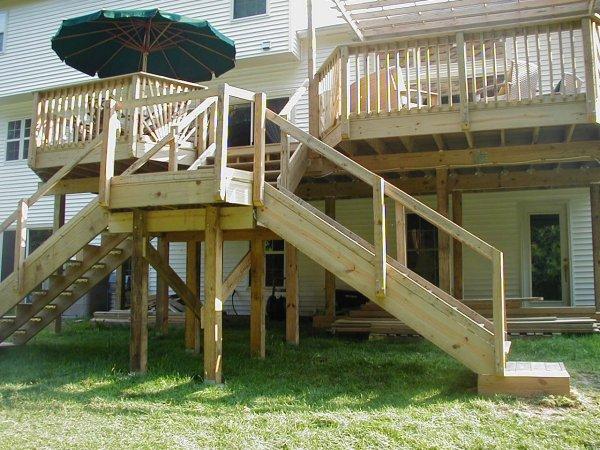
After all the stairs were in place (see below), we attached posts and railings. |
|
|
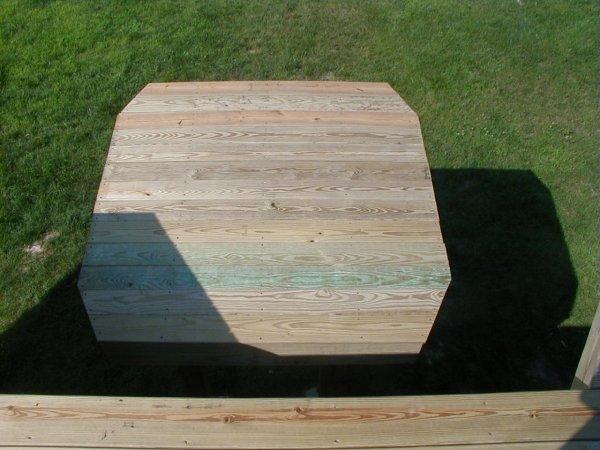
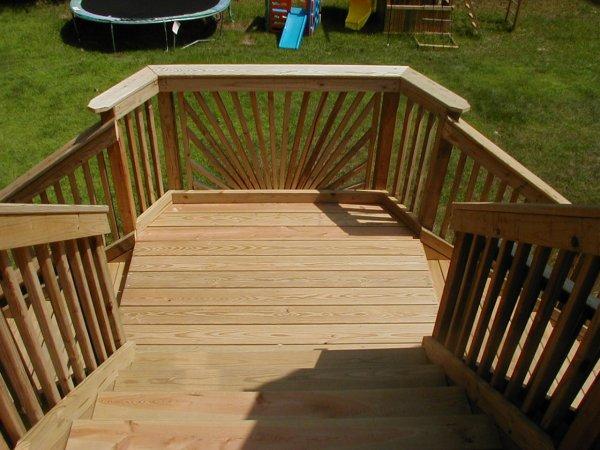
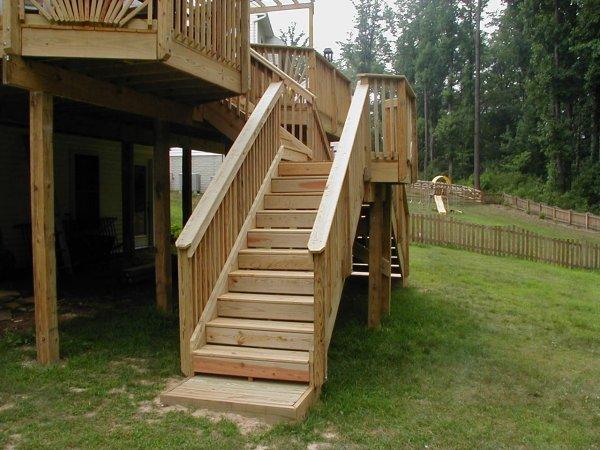
The sunburst was added on the landing to accentuate that section of deck like the sunbursts on the main deck. The top stairs are extra wide to tie the landing in with the main deck. It seems more an extension on the main deck than a separate deck. |
|
|
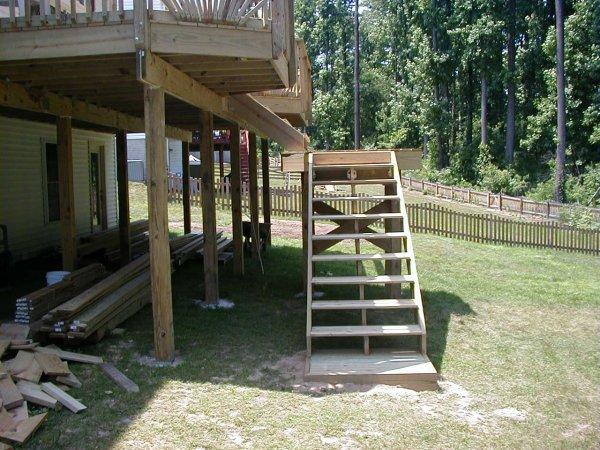
After the landing was complete, we added the stairs. We needed to determine the rise and run for the treads, while staying in code, and then we cut the stair stringers from 2x12 lumber. As the deck book we bought at Home Depot says "Don't skimp on the hardware." We probably have $300 just in metal hardware for the steps. They ended up very sturdy, good looking steps with no visible screws. |
|
|
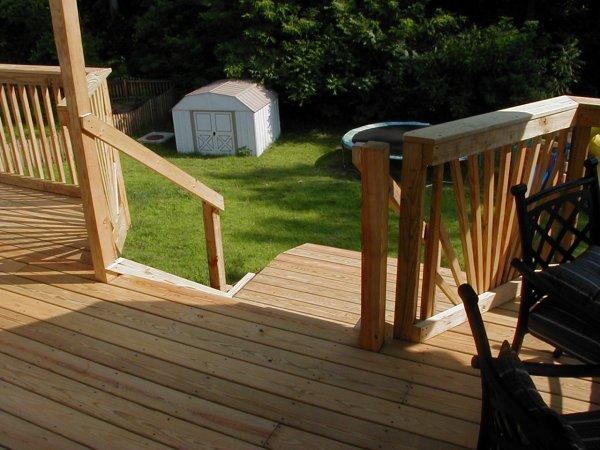
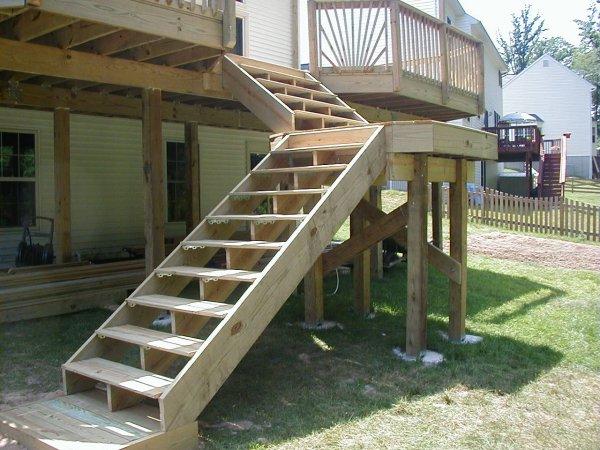
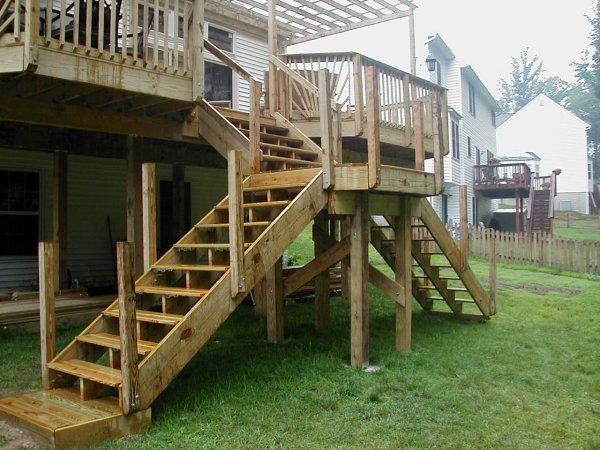
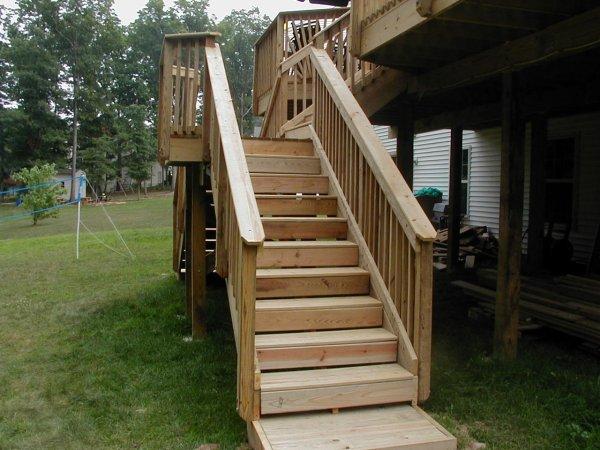
We had originally planned on only one set of steps coming down from the landing, but a neighbor had a similar landing with steps coming down both ways, and it looked very nice. So we added the second set of steps. We put on posts for the railing.... |
|
|
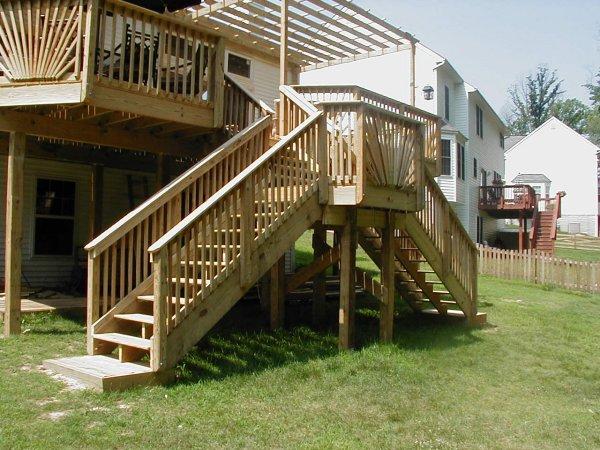
and finally attached the pickets and top railing. |
|
|
Anne Arundel county code calls for closed risers, so that was the last step. Each step has a kick plate, which makes the riser closed. These were attached with more hardware behind the kick plate, so there are no visible nails or screws here also. |
|
|
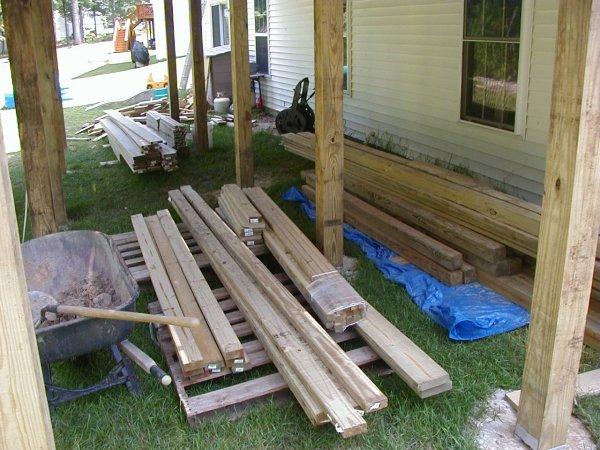
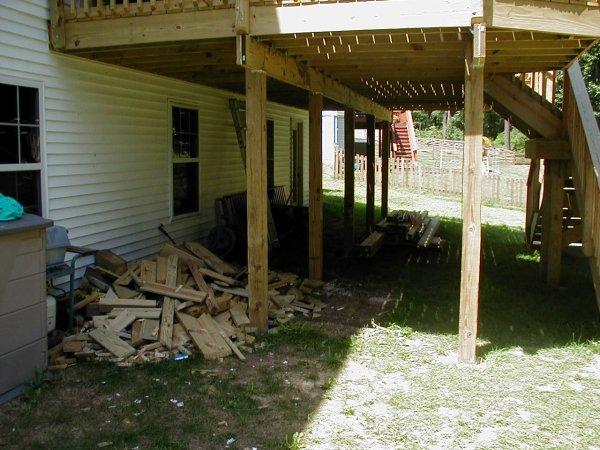
These last pictures show how the big pile of wood that we originally had slowly dwindled. What was left was moved under the deck to keep it from drying out. There is not much left except for the refuse pile, some extra decking, and a few 4x4's. |