 |
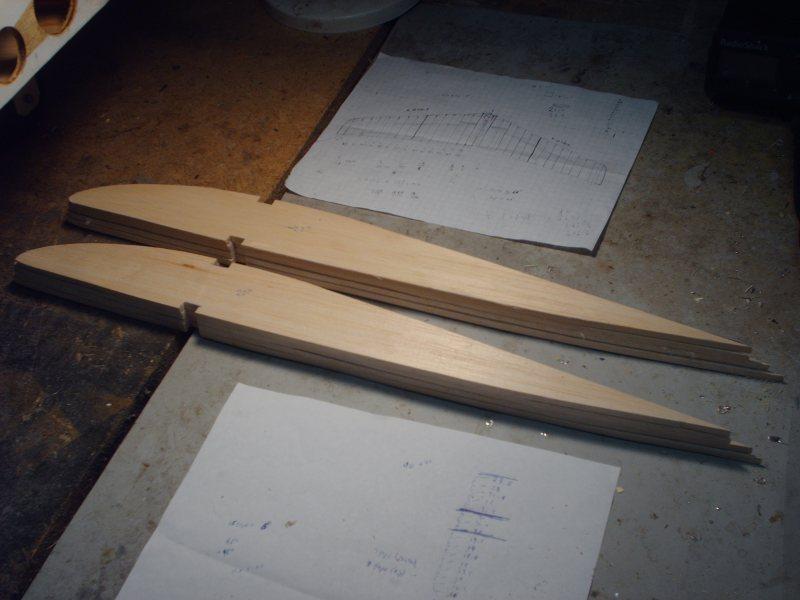
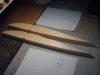
The first step is to make a general layout of the entire planform and cut
out the wing ribs. I use the Eppler 334 airfoil for most of my flying wings. I
went through a careful analysis of lift coefficients at various Reynolds numbers to get
the proper airfoil designed specifically for flying wings at slow speeds. See this page for more details on the Eppler 334. |
 |
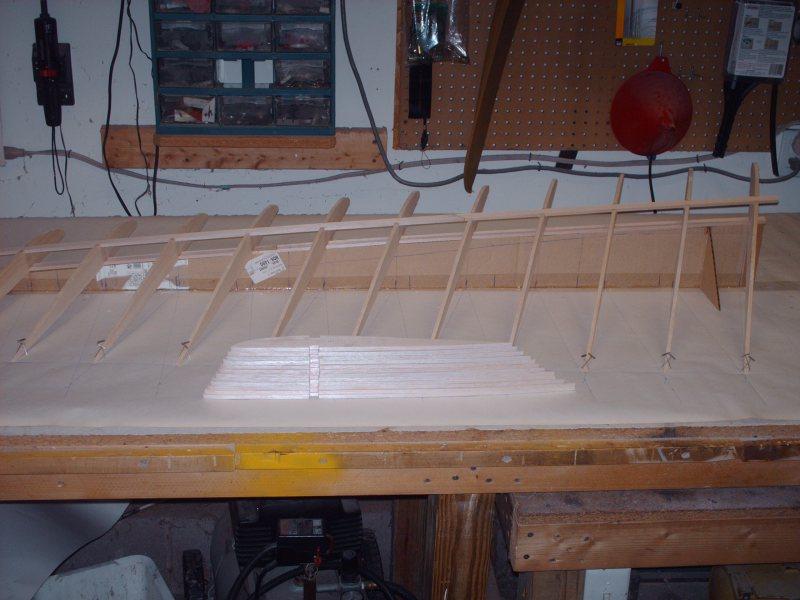
Once you have the ribs cut out, build a jig to allow the washout to built
directly into the wing. Enough washout will recuce or eliminate lots of problems,
such as lack of stability due to no vertical surfaces. This wing will be built in three
sections - left tip, right tip, and center. The center section will be built from
two halves built on the jig before they are joined with the center ducting frame. I
uses 1/4" balsa for the wing ribs in this flying wing. I used 1/4" balsa
for my original 11' wing, and then tried 1/8" lite-ply for the 16'" wing with
lots of lightening holes. The lite-ply ended up being much heavier, even with the
holes. |
|
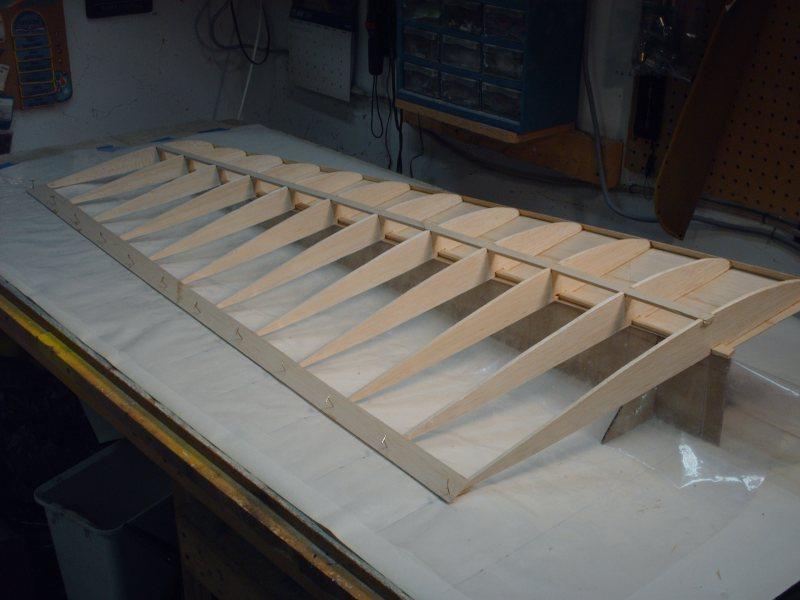
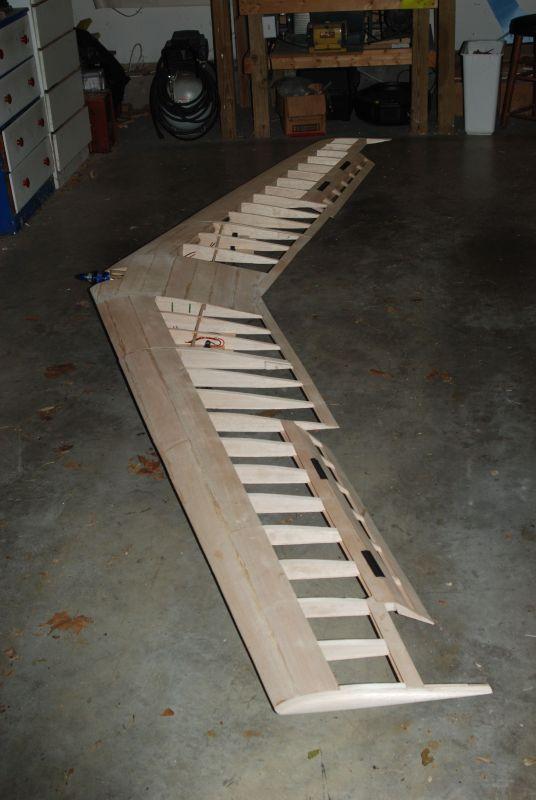
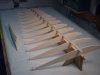
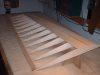
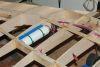
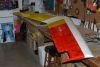
The wing is built on a jig to ensure the proper washout. This photo
shows the left wingtip. The first step is to pin the ribs trailing edges to the building
board and glue the spars into the spar slots cut into the high point of each rib.
For the wing tips, I use 1/4"x1/2" balsa for the spars, with 1/16" shear
web. |
|
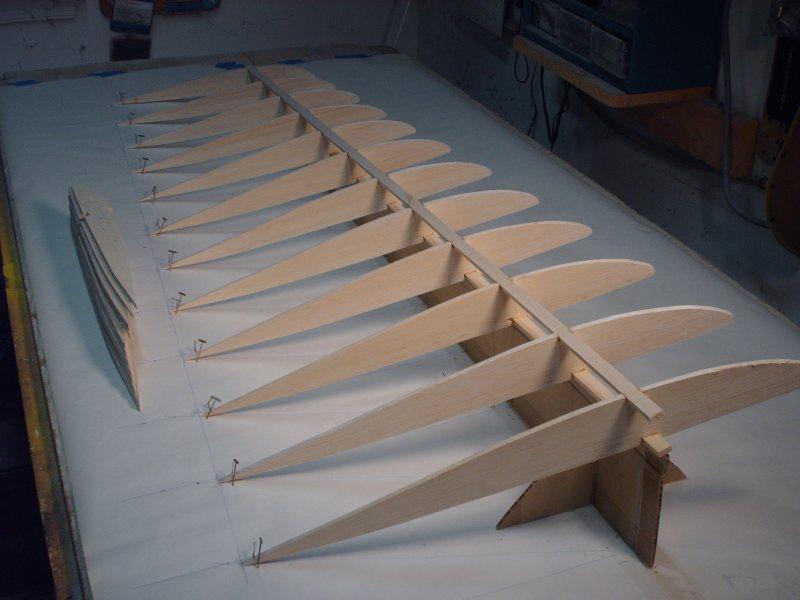
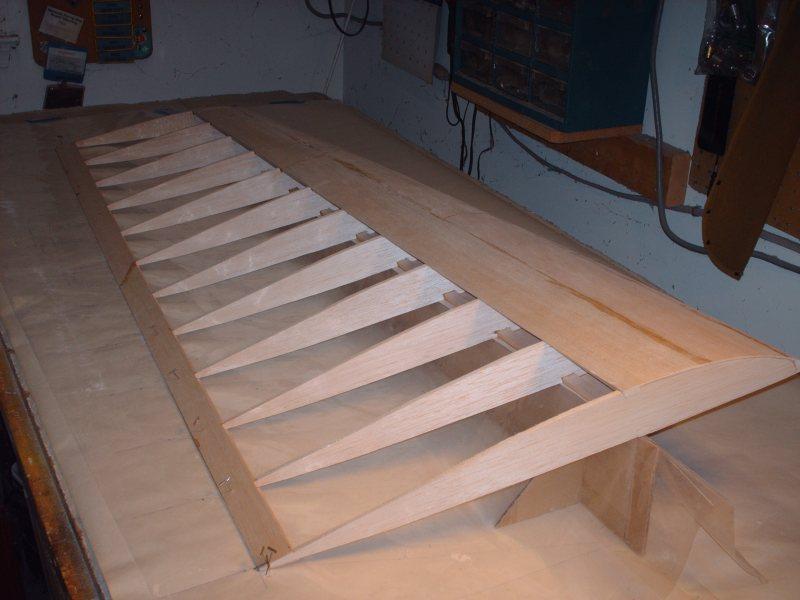
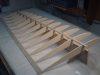
Next, glue the trailing edges on, while still on the wing jig to ensure
the washout remains built into the structure. |
|
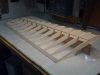
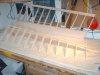
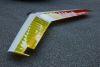
Remove the assembly, attach the leading edge and shape it to the airfoil.
Then glue on the bottom sheeting, while on the jig. |
|
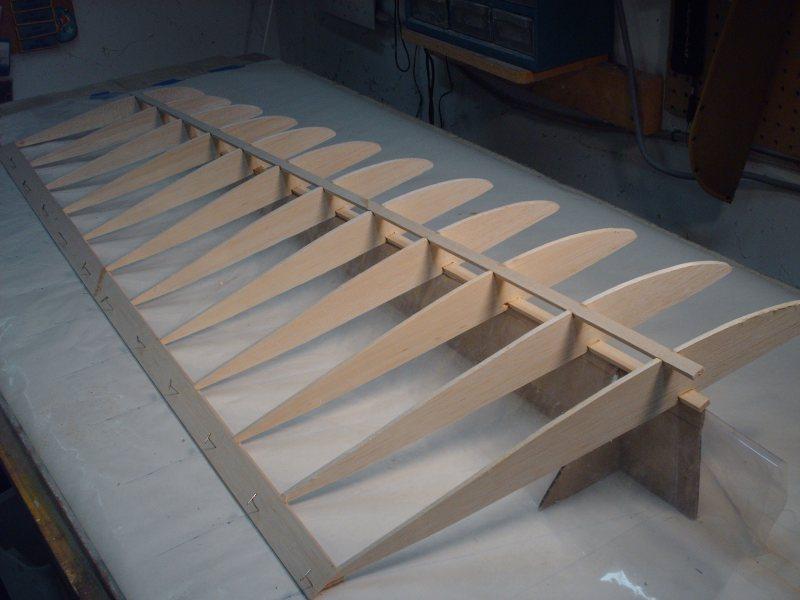
Then glue on the top sheeting. Once the sheeting is attached to the
spar, the wing can be removed from the jig to allow glue to be placed between the spars
directly to where the ribs meet the sheeting in the forward D-tube. Glue every piece
to every other piece. That is where all the rigidity for the washout comes from for the
whole structure. After the top and bottom sheeting are firmly glued to the ribs,
spars, and leading edge, close off each section with shear webs. I leave the outer
two sections with no shear webbing. The inner two sections should be done later,
after the wing joiners have been inserted to allow the tips to be plugged into the center
section. |
 |
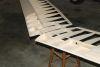
Turn the wing jig around and lay our the ribs for the right wingtip.
It is assembled following the same steps as the left wing tip. |
I had originally planned to power this wing with an OS 65 VR-DF ducted fan engine
and Dynamax fax, but decided later to power it with a big electric outrunner. The
next three photos are of the wing when it had the ducting in place.
|
 |
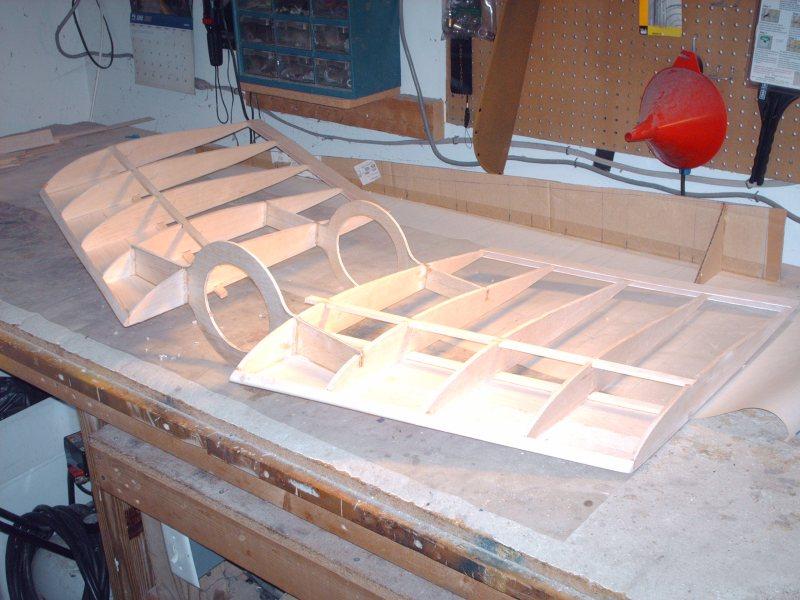
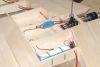
The center section is done in two halves and joined. .I used the wing
jig above to build up the two center pieces before joining them with the ducting frame.
The ducted fan unit sits directly inside the front circle, and ducting will be
built back through the rear circle. Fuel tanks and electronics will be in the wing
on either side of the ducting. |
 |
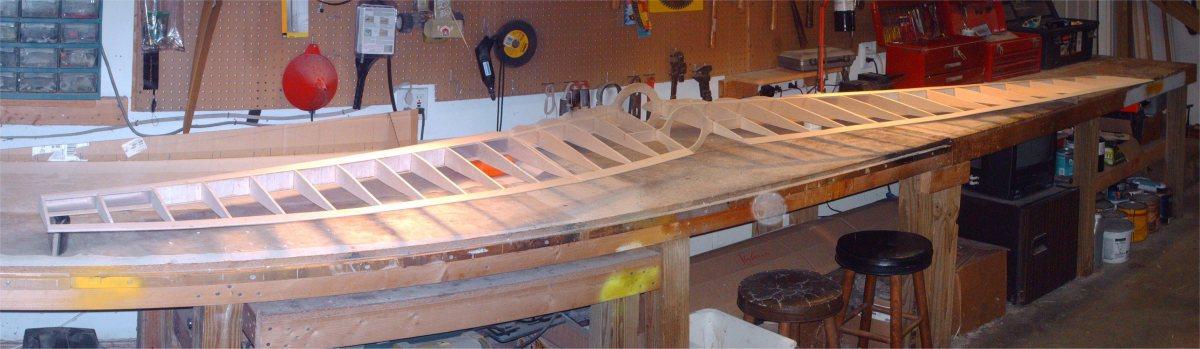
Here is another view of the entire frame at this point. |
 |
Another wide angle shot. There are no wing joiners here - the pieces
are just layed out together like they will finally be joined. |
I removed the ducting center piece and rejoined the center section.
|
|
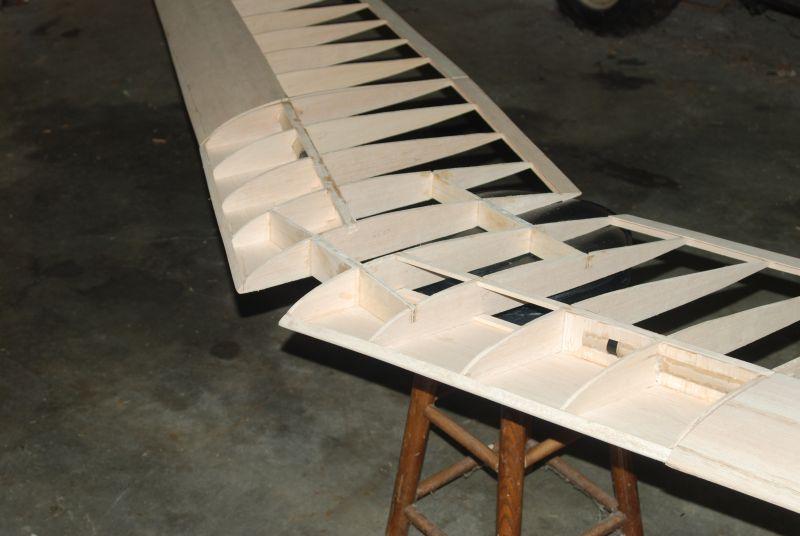
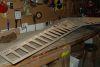
Center section with the ducting removed. The wing joiners are also
installed: carbon fiber tubes running into cardboard tubes. |
|
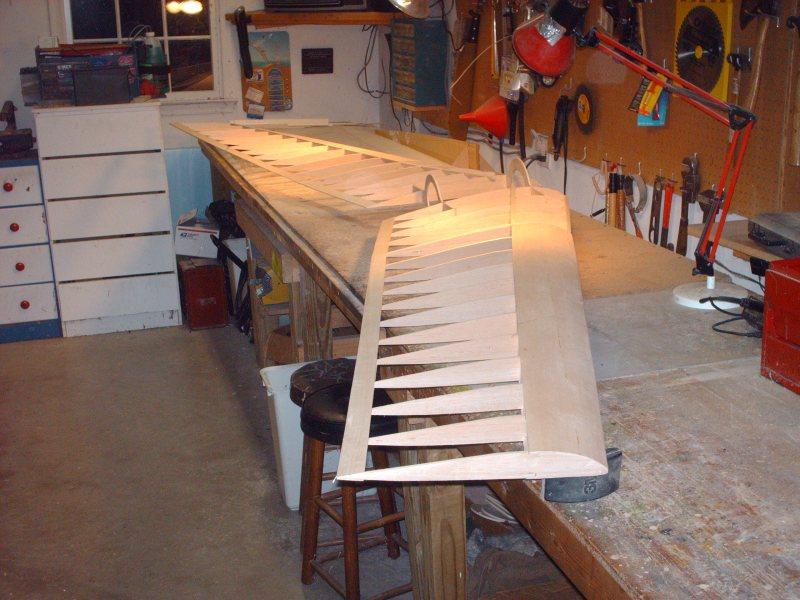
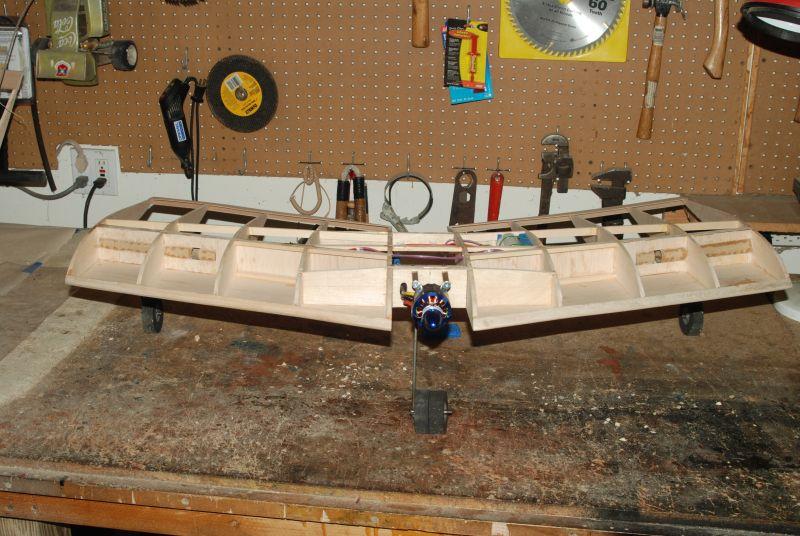
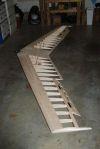
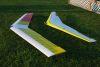
Here is the whole 13' wing. |

|
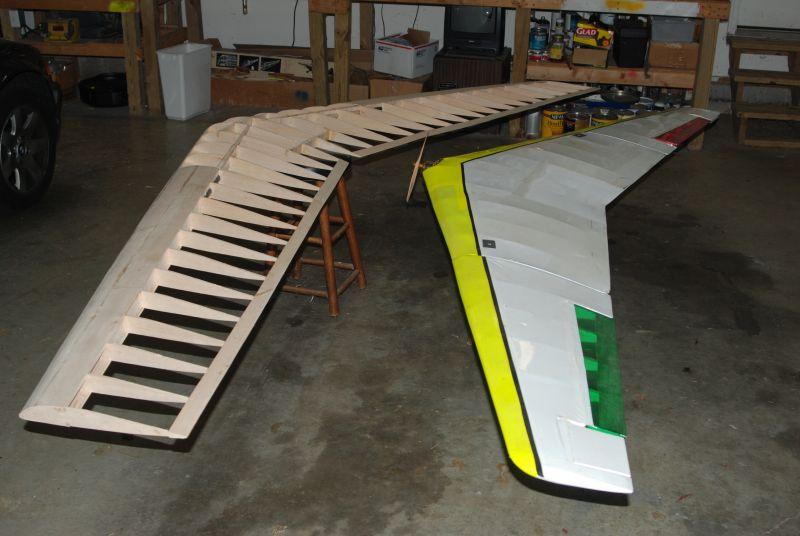
13' wing next to my 11' wing for comparison. |

|
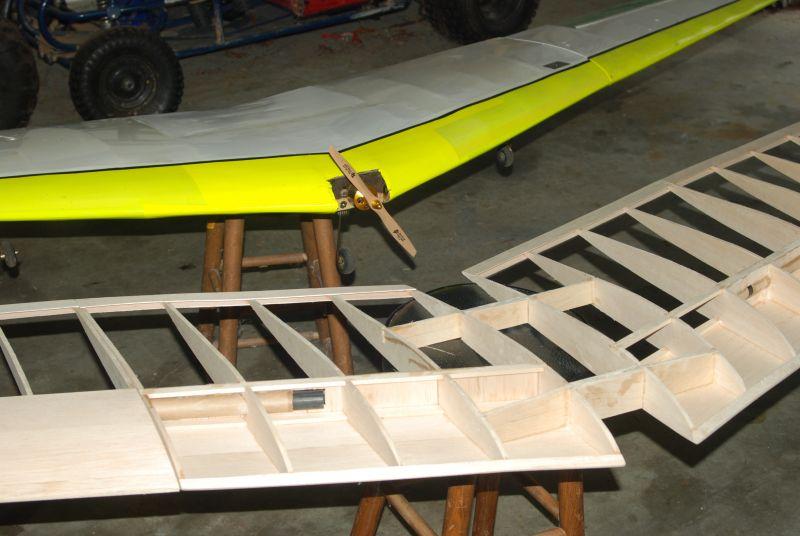
The center sections of the 11' and 13' wings for comparison. |

|
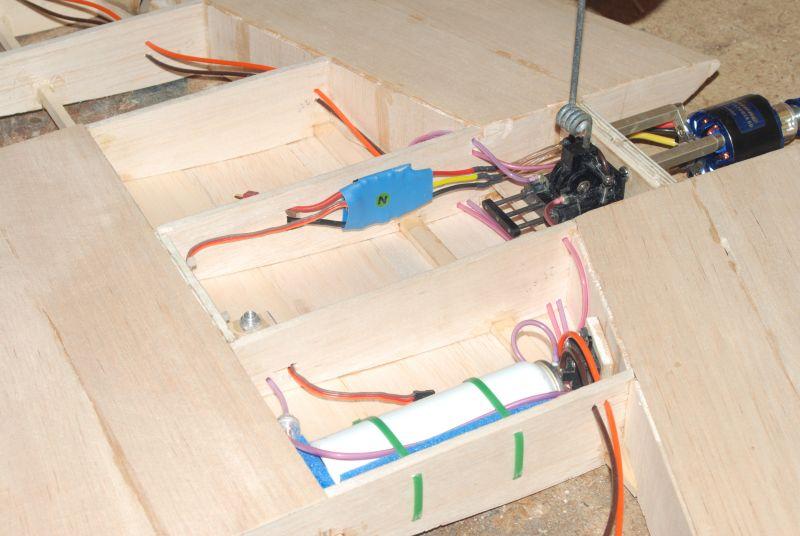
Here is the motor installed on extensions from the firewall. The
motor is an Exceed RC 50-65 brushless outrunner, 350 kv. I will power it with a 6S
4000 mah lipo battery, and control it with a 50 amp brushless ESC. |

|
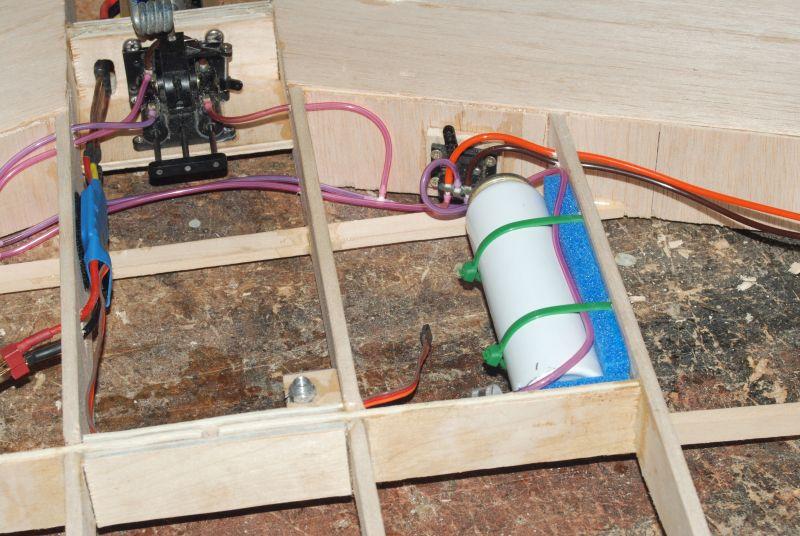
I have installed the pneumatic retract air system. You can see the
air tank, valve switch, fill port, nose retract, and brushless ESC. |
|
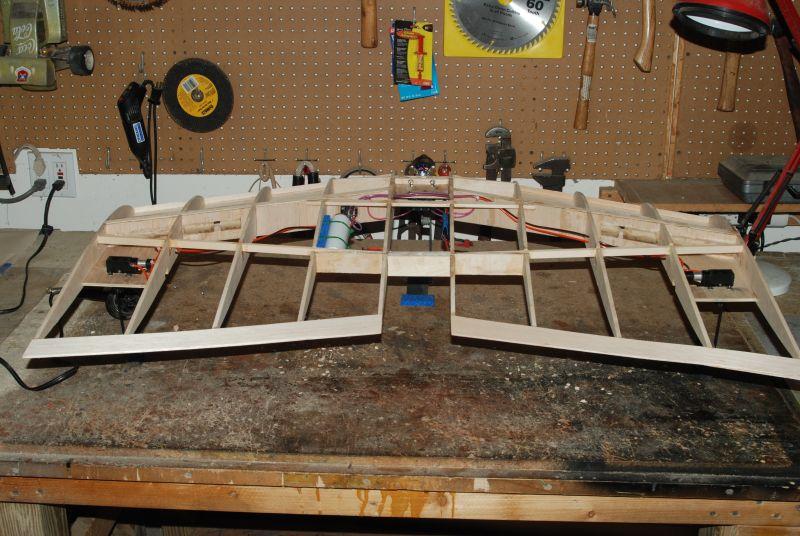
Here is another view of the center section without any sheeting. |

|
The whole center section without sheeting. |
|
The center section has now been sheeted. The far bay will hold the
motor batteries, the center bay is for the nose retracts, and the near bay is for the
retract tank and valve, receiver, and receiver battery pack. The side bays will have
covers, with the battery bay getting air vents to keep the batteries cool. |
|
The whole airplane with the center section sheeted. |
|
I have now cut out the elevons and drag rudder openings on each side.
The elevons are temporarily held in place with duct tape. They will be hinged
with Monokote after the plane is covered. |

|
Another view of the entire plane with control surfaces cut out. |
|
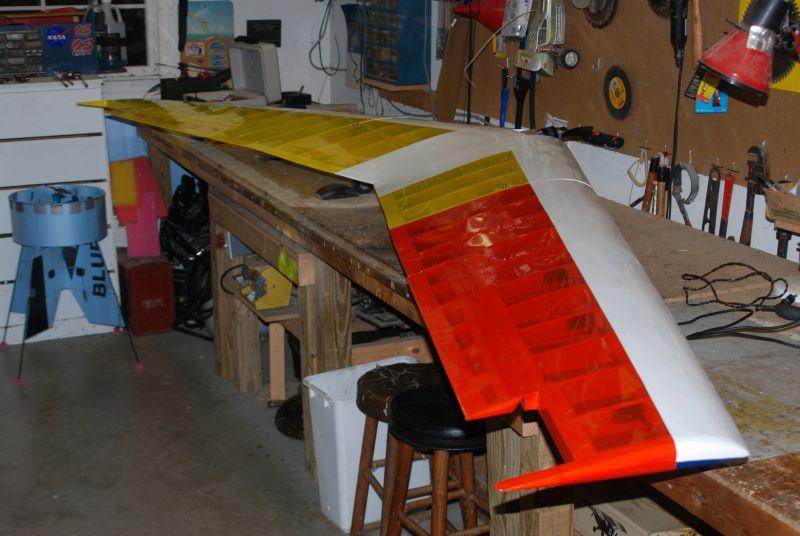
Covering on, no drag rudders installed yet. |
|
Same stage, another view. |
|
All done. Side by side with my 11 foot Klingberg flying wing. |
|
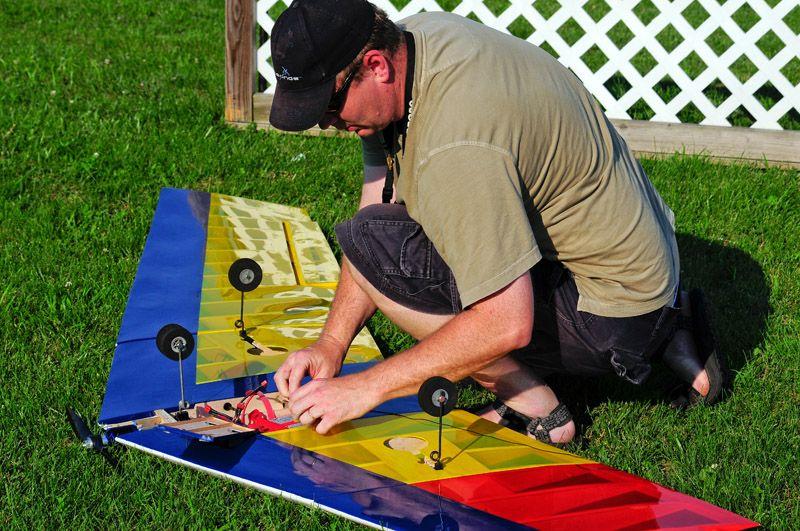
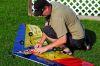
Getting ready for maiden flight. |
|
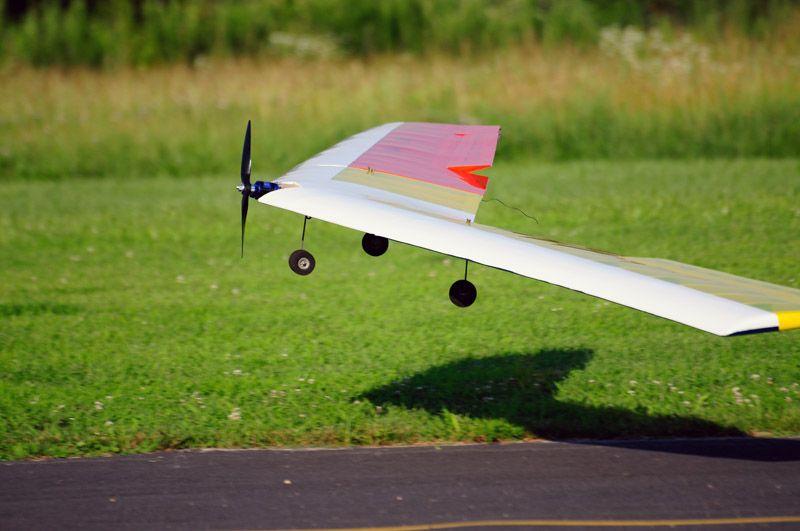
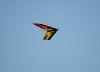
Takeoff on first flight. |
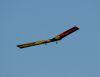
|
Fly-by. |
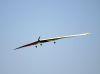
|
Silent fly-by. |
|
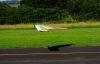
Downwind for first landing. |

|
Almost there.... |
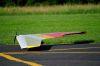
|
... and its down. This wing has a bit more adverse yaw in turns than
my previous flying wings; I probably put too much washout into the wingtips. It is easy to
fly and land and the bright colors are pretty in the air. |
|
|